Start here
Quickstart
Get from zero to your first authenticated API request in under five minutes.
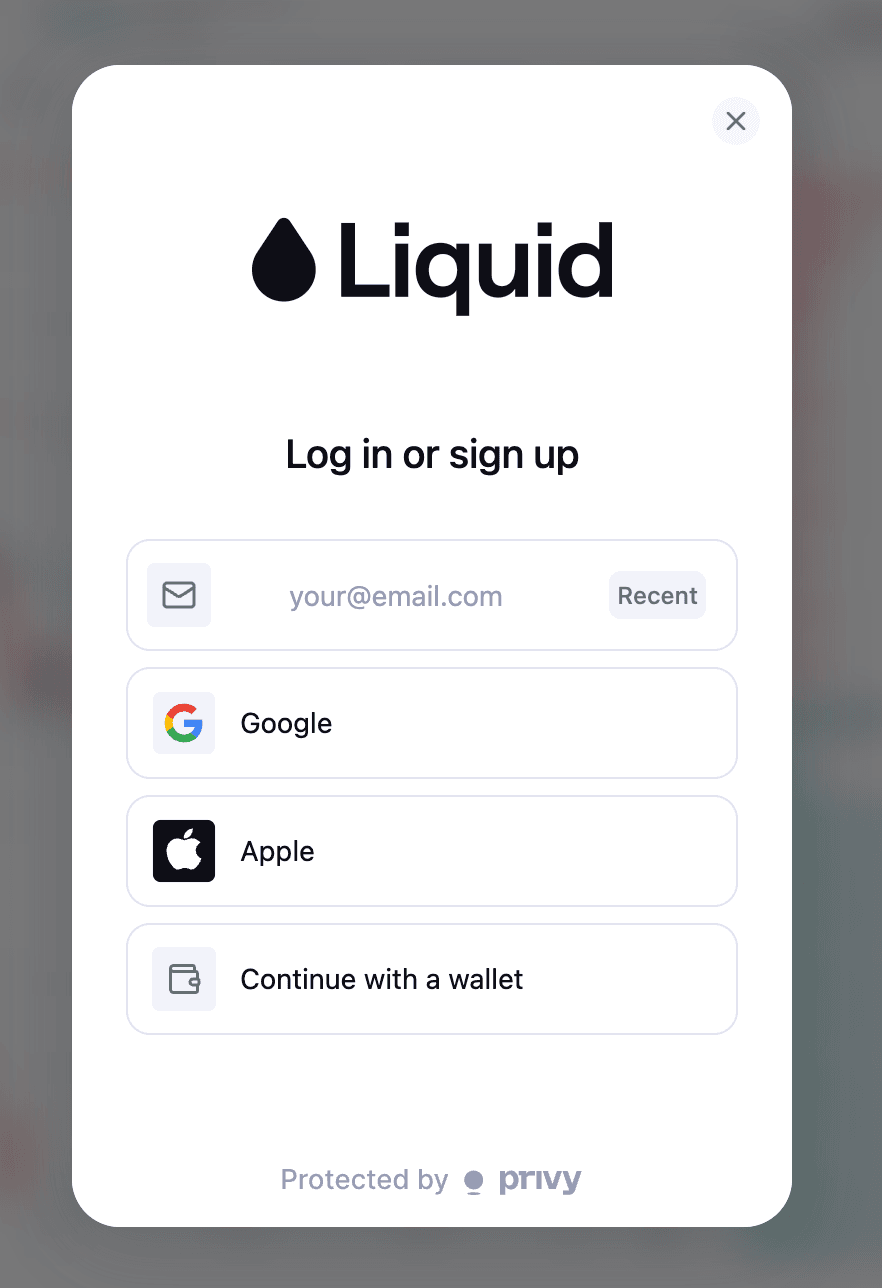
1. Create an Account
LinkHead to app.tryliquid.xyz and create an account. You can sign up with email or connect a wallet.
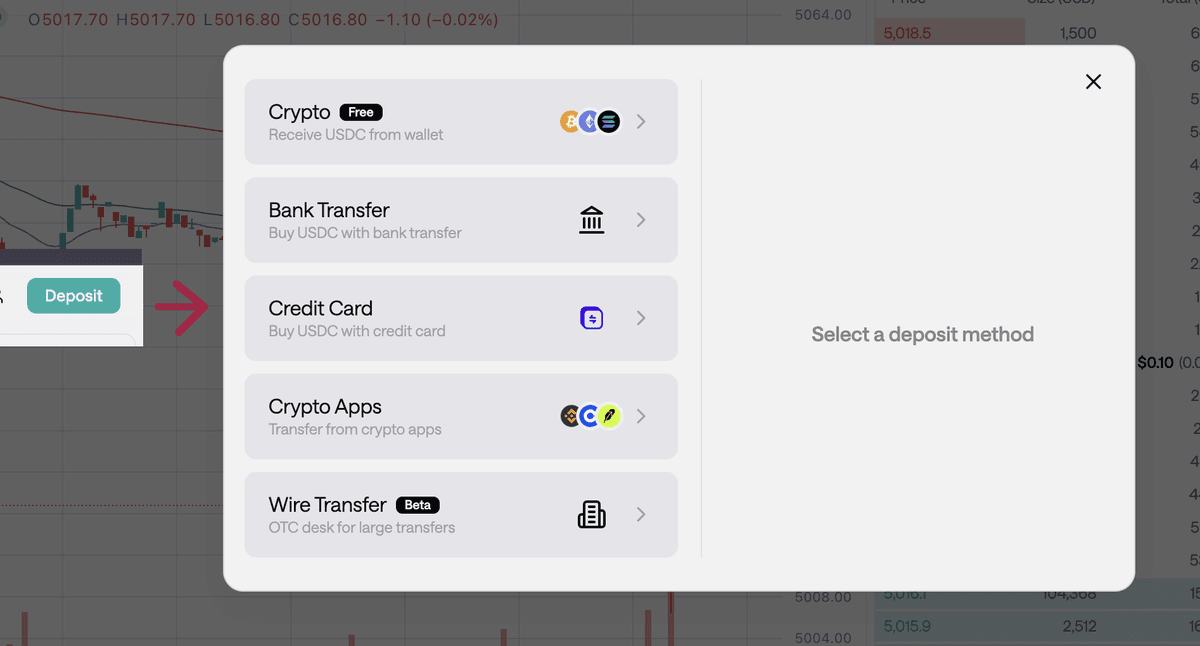
2. Deposit Funds
LinkOnce your account is created, deposit funds. Liquid supports USDC deposits.
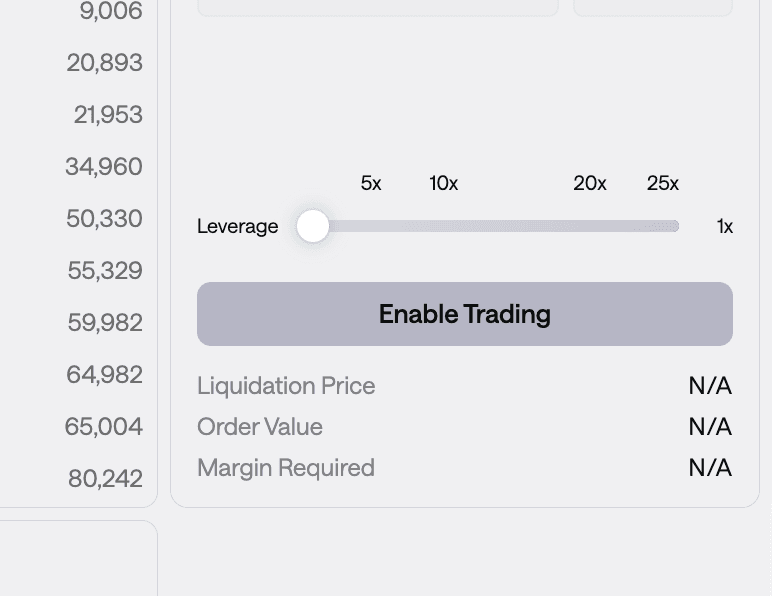
3. Enable Trading
LinkBefore you can place orders, click the Enable Trading button. This activates your account for live trading on Hyperliquid.
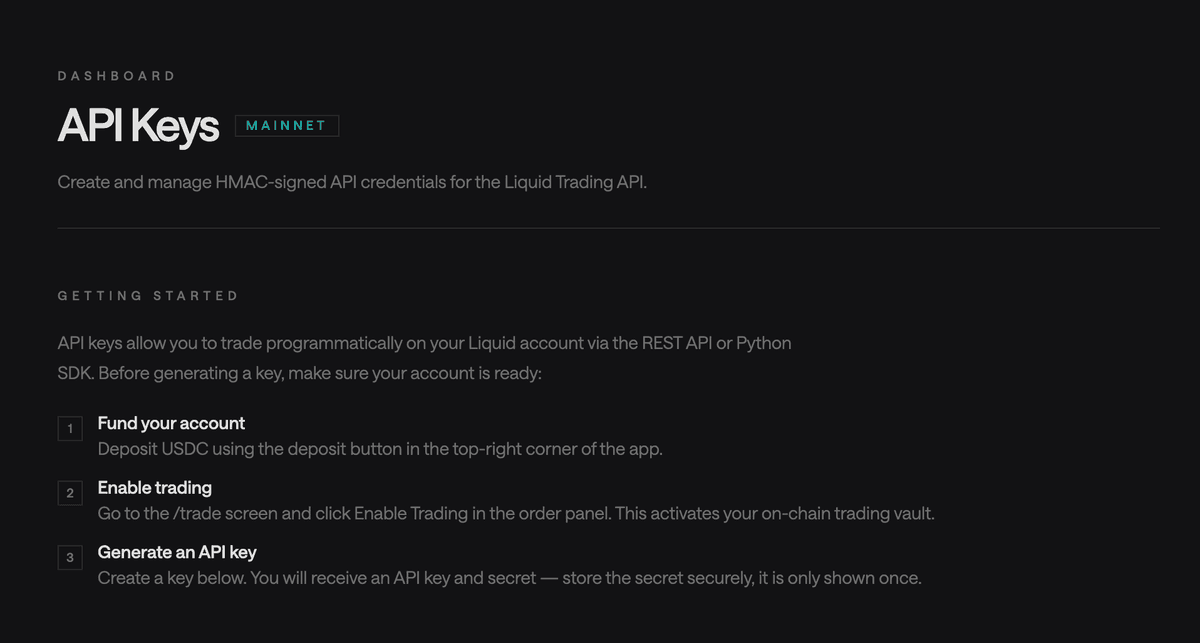
4. Get API Credentials
LinkNavigate to app.tryliquid.xyz/account/api-keys to generate your API keys. You will receive two values:
| Value | Format | Description |
|---|---|---|
| API Key | lq_... | Identifies your application |
| API Secret | sk_... | Used to sign requests (never share this) |
Your API secret is shown only once at creation time. Store it in a secrets manager or environment variable — do not commit it to source control.
5. Install the SDK
LinkInstall liquidtrading-python from PyPI. The SDK handles HMAC request signing, response parsing, and error mapping automatically.
pip install liquidtrading-pythonuv add liquidtrading-python6. Make Your First Request
Linkfrom liquidtrading import LiquidClient
client = LiquidClient(
api_key="lq_...",
api_secret="sk_...",
)
# Check connectivity
ticker = client.get_ticker("BTC-PERP")
print(f"BTC mark price: {ticker.mark_price}")7. Read Market Data
Link# List all tradeable markets
markets = client.get_markets()
for m in markets:
print(m["symbol"], m["max_leverage"])
# Get order book
book = client.get_orderbook("BTC-PERP", depth=5)
print(f"Best bid: {book.bids[0].price}")
print(f"Best ask: {book.asks[0].price}")8. Check Account State
Linkaccount = client.get_account()
print(f"Equity: {account.equity}")
print(f"Available: {account.available_balance}")
positions = client.get_positions()
for pos in positions:
print(f"{pos.symbol} {pos.side} {pos.size} @ {pos.entry_price}")9. Place an Order
Linkorder = client.place_order(
symbol="BTC-PERP",
side="buy",
type="market",
size=100.0, # $100 USD notional
leverage=2,
tp=72000.0, # take-profit trigger
sl=68000.0, # stop-loss trigger
)
print(f"Order {order.order_id}: {order.status}")The size parameter is always in USD. All markets on Liquid are perpetual futures. TP/SL are optional but recommended.
10. Connect the MCP Server (Optional)
LinkIf you want AI agents to trade through Liquid, install the MCP server and connect it to your preferred client.
pip install liquidtrading-mcpuv tool install liquidtrading-mcpclaude mcp add liquid \
-e LIQUID_API_KEY=lq_... \
-e LIQUID_API_SECRET=sk_... \
-- liquidtrading-mcpSee the MCP docs for Claude Desktop configuration, environment variables, and the full tool catalog.
Next Steps
Link- REST API Reference — full endpoint docs with request/response examples
- Python SDK — complete method reference and error handling
- MCP Server — tool catalog, safety guardrails, and prompt templates